Standard
Posted by
daniellepyhayesPosted on
May 16, 2016Posted under
News production and Law - EmmaComments
Leave a comment
The questions I have used during the interviews within my video are:
When using green screen, lighting is really important. For green screen, we used a white screen and two lights with green filters on to turn the background green. Although this changed the background, the room was still too dark to record footage. To make the room lighter, we then used three other lights to light up the subject/person so you could see their face. For this, a key light was used and two other filler lights. Once all the lights were on, there weren’t any shadows on the screen and you could clearly see the subject which allowed us to them record some clear footage.
After capturing the footage, it was then placed into Premiere Pro. The steps I took to change the background were:
![WP_20151229_008[1]](https://daniellehayesblog.files.wordpress.com/2015/12/wp_20151229_0081.jpg?w=800)
![WP_20151229_009[1]](https://daniellehayesblog.files.wordpress.com/2015/12/wp_20151229_0091.jpg?w=800)
![WP_20151229_010[1]](https://daniellehayesblog.files.wordpress.com/2015/12/wp_20151229_0101.jpg?w=800)
For my video essay, I am going to create a video that reflects on the music scene in Hull. Within the three minute video I am going to have interviews with local musicians, footage from local gigs and band practices and photographs. As well as having a variety of visualisations, I am also going to try and include music from local bands in the video.
Topics of conversation I plan to cover will include City of Culture 2017, venues, whats happening with the bands/musicians and who the biggest bands from are.
The documents I am also going to create to work alongside me while I create the video are:
When creating videos, using a variety of camera angles is really important. This is because if you use a lot of different shots it makes the video more visually appealing, and it’s likely to keep audiences engaged. Different camera angles can also portray things in different lights and manipulate audiences feelings. The camera shots that I know of are:
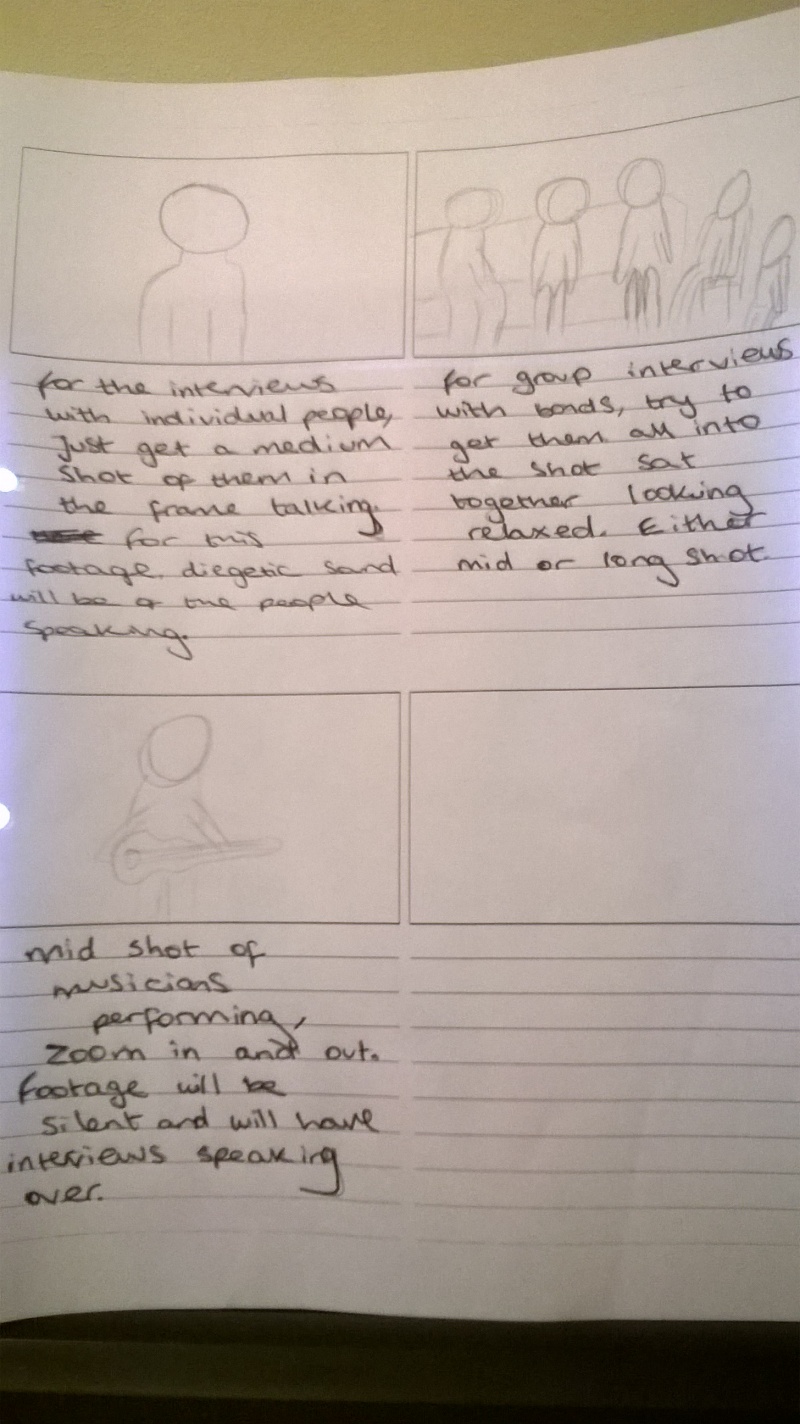
As a journalist, it’s likely I’m only going to use the simple camera shots because I will mainly have videos of interviews. For interviews, medium shots are mainly used so that audience can just see the people speaking. Other shots that get used in interviews include long shots and close ups. These main, simple shots are used to make audiences connect with the people in interviews and to put them onto their level as if they’re there speaking to them.
The sound in videos is just as important as the visual aspect. The main problems I have found with sound in videos are:
As an audience member, I find these issues with sound very off putting when I watch videos and whenever these happen I usually stop watching them. Therefore, as a journalist I find it extremely important to get the sound right in videos to keep audiences engaged.
To stop some of these problems, I will use microphones whenever it’s possible to make sure I capture what people are saying in interviews. I will also always listen to videos whenever I edit them, even if at the time I’m just focusing on how it looks.
Like the imagery in videos, you can cut sound with a razor tool in Premiere Pro. This tool is really useful, because it allows you to add snippets of backing tracks and sound effects whenever necessary and it stops you from having more sound in a video than footage. You can also alter the volume of sound in videos, this would be done to make the people speaking louder than backing music.
Overall, when editing videos it’s important to make sure the sound is on point and matches up with the footage.
In the past I have used Sony Vegas to edit videos, which I found really simple. Now, after learning the basics on Premiere Pro, the software seems very similar.
When starting up Premiere Pro, it’s important to choose the right settings to edit the video you want. One of the main things to do when you set up a new project, is to make sure the resolution of the video in the project matches up to the video cameras resolution. Another obvious thing to do, is make sure you save the project into a folder you will be able to find easily and where there’s enough data storage.
Once the new project had been opened to start the process of importing media is very simple and straight forward, like in Sony Vegas. Once media is then imported, you can start to edit videos. One of the main tools that always gets used in Premiere Pro is the razor tool, which allows you to cut out any footage you don’t want. After videos are cut, you can then drag them all together and put them in the order you want. You can even overlap videos which makes them fade into each other.
Overall, after my first lesson using Premiere Pro I feel confident in my ability to edit videos. In the future, I will probably use this software to edit any journalistic videos, because it seems very easy and simple.
